News Story
Pilot's Perspective: Four Reliability Checks You Should Do Before Every Flight

Reliability in the drone industry has skyrocketed in recent years. Vehicles and accessories have gone from being unpredictable to smart, in some cases even capable of warning pilots when they are in poor condition. Even with these advancements, though, we as pilots need to be careful that we are looking after our equipment. Something only needs to go wrong once for there to be serious consequences for you and our industry.
Safety and reliability won’t be achieved through checklists alone—they’re a way of life. But folding these four steps into your pre-flight routines can propel you down the road toward a safety culture.
1. Test Your Batteries
Preparing a battery for flight is about a lot more than just checking if it’s charged. It’s important that you check the battery’s capacity. You should know the available milliamp hours of your battery and how quickly your aircraft will drain that well before your flight day. This will ensure that you bring the right, and enough, batteries to the operation site.
Make sure you also know how many charge cycles you’ve put your battery through. Every battery has a recommended number of cycles before it should be replaced. It will still work after that, of course, but the battery will start to drain faster, introducing uncertainty into your operations. At the UAS Test Site, we use the Alaris Pro fleet management program to keep tabs on the health of our roughly 200 batteries.
As for charging, use the appropriate charger in a room set to the right temperature. Your aircraft or battery user manual will tell you the best temperature range for your product. And be sure to let the battery cool down after a flight before charging it.
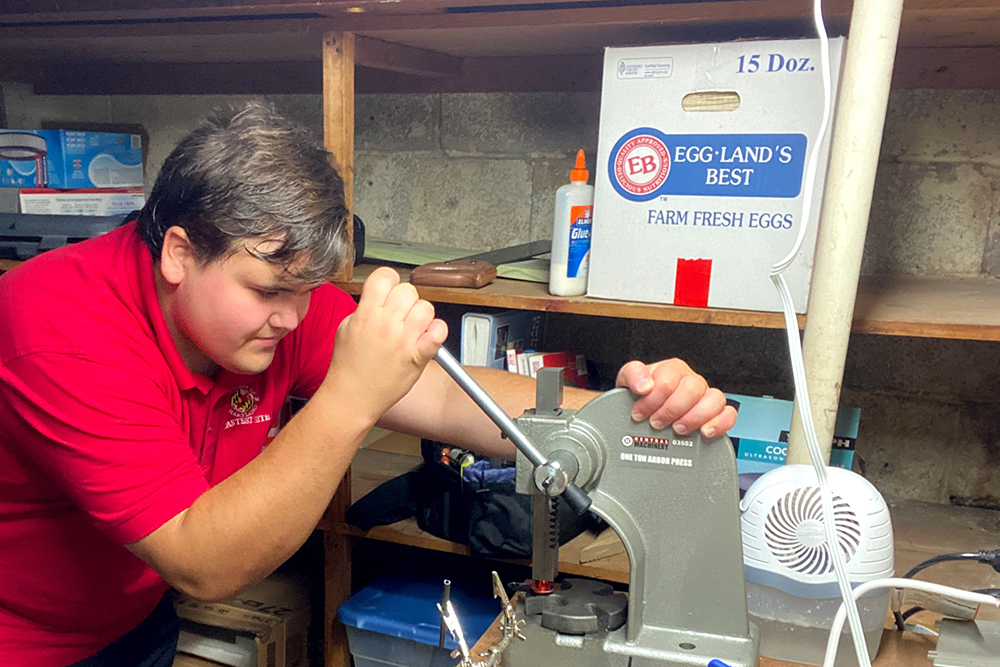
2. Inspect Your Hardware
A few days before your scheduled flight, take a few minutes to give a thorough visual inspection. Look for stress marks or other damage, especially to any area that could be considered a single-point failure: battery connectors, power distribution board, electric speed control, propellers, etc. Then repeat this process right before taking off.
To make our visual inspections easier and more accurate, we at the test site apply a torque seal in a small line across every nut and bolt. This process—standard in manned aviation—allows you to easily identify vibratory loosening or any other adjustments in nuts, bolts, or fasteners without running the risk that you change the torque during the inspection.
Of course, a visual inspection won’t catch every potential problem. You should also keep tabs on the flight hours for every component of your aircrafts. These all have recommended maintenance or replacement periods, and keeping to those schedules helps prevent bigger failures down the road.
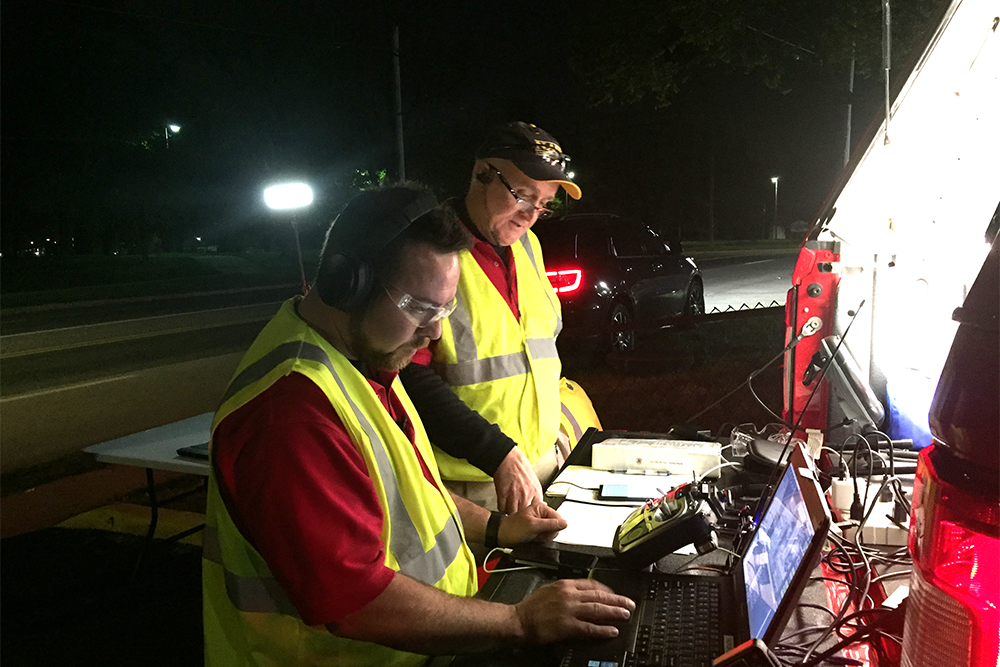
3. Verify Your Software
Is your software and firmware up to date? Are your communication and data links working? Have you verified your configuration? These are all questions you should be able to answer before you take to the sky.
Like with hardware, make sure you first do these checks before leaving your hangar or home. We were reminded of this lesson earlier this year. After driving four hours to Crisfield-Somerset County Airport, we discovered that the software update we’d done on our Tigershark vehicle created a conflict with the antenna tracking system. Fortunately, our pre-flight check ensured that we caught this failure before we put our aircraft and potentially people in danger, but we could have saved ourselves hours of work if we had verified our software before leaving our office.
4. Survey Your Support Equipment
This is probably the most overlooked checked. With our constant focus on GCSs and aircraft, it’s easy to forget that a safe, reliable operation depends on a lot more.
The items in your operational “go kit” depend a little on the type and size of the operation. For most of us, though, surveying your equipment means at least confirming that your case is in good condition, your tool kit is complete, and your communication radios are working and fully charged. If you’re using a generator, be sure to change the oil, check the oil and air filter, and start it up a few times before getting to your operation site. And don’t forget to confirm that your first aid materials and equipment are full and in working order.
Tell us what you think, drop us a line at uasnews@umd.edu
Published April 3, 2019
Related Stories
Stories / September 1, 2023
UMD Student Team Lauded for Award-Winning Drone

Stories / August 2, 2023
CareDx Acquires UMD-linked Transplant Tech Firm
Stories / June 1, 2022
Past and Present: Jacob Moschler

Stories / January 19, 2022
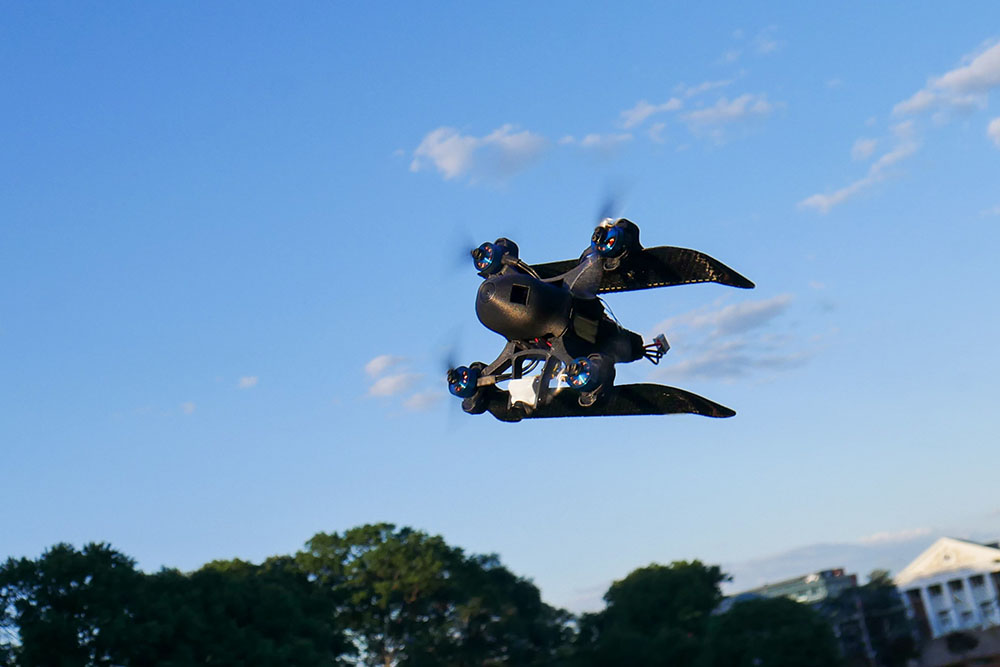
Extending Quadcopter Flight Time—By Adding Wings
Stories / November 29, 2021
UMD Helps Test New Search and Rescue Technology

Stories / October 19, 2021
Newly-Opened SMART Building to Spur Autonomy Research

Stories / October 13, 2021
USMSM Debuts SMART Innovation Center
Stories / August 10, 2021
An Opportunity to Shape the Field…While Still a Student
Stories / May 26, 2021
UMD, UMBC, ARL Announce Cooperative Agreement to Accelerate AI,...

Stories / May 7, 2021
Completing a Doctorate—Aboard an Aircraft Carrier